Thomas asked me to make a sleeve/cover for his Nexus tablet. Since it is so hard to make crafty things for men, I was really excited to give it a try. He loves it and I thought maybe the guy in your life would love one too!
What you need:
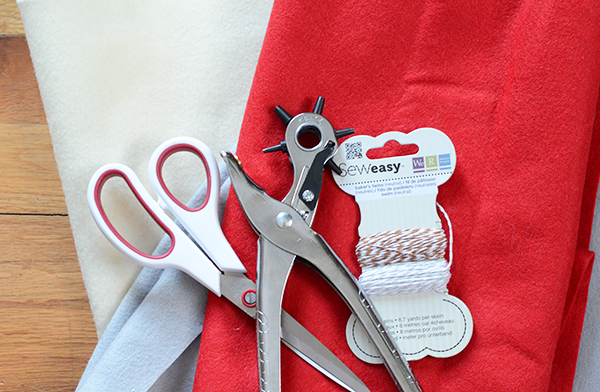
Wool felt
Boat vinyl
Headliner (very thin foam)
Sewing machine
Leather sewing machine needle
Basic sewing supplies
Cut your felt (11x6.5) and your vinyl (11x4). You will cut your headliner later, after you have those pieces sewn together to insure proper fit.
1. Place your felt and vinyl right sides together and sew along the dotted line (bottom).
2. Lay flat and straighten the seam. Now, cut your headliner to fi, leaving 1/4-1/2 inch around. This will depend on your machine. If it is good with bulk, do the 1/4 inch. If you have to really fight, go with a 1/2 inch. Pin it in place once you have it centered.
3. Turn right side up, headliner facing down and sew along the dotted line. This will keep your seam flat while also securing the headliner in place.
4. Fold the top of the felt toward the wrong side as pictured and sew.
5. Now fold everything in half, right sides together, and sew around. Be sure to go back and forth once at the beginning to secure the seam. It will be stressed the most during use.
6. Clip your corner on a slight angle and turn inside right. You're finished!
Notes:
-You can adjust the measurements and make this to fit any tablet or reader (I made one for my Kindle pictured above).
-If you don't get a snug enough fit the first time, flip it inside out and sew a little deeper until you get the perfect fit for your tablet.
-Buy your vinyl in the remnant section, it is really cheap and you don't need much.
-These measurements fit both versions of the Nexus.
If you make one, e-mail me a picture... I would love to feature what you created!
Charlie