Pages

Showing posts with label Valentines. Show all posts

Thursday, February 6, 2014

Felt Valentine's Envelope DIY


Hopefully you have some extra felt left over from make your mini bunting because you know you're going to make these felt envelopes! You will need felt in the colors of your choice, scissors, a ruler, sewing machine/needle and thread, buttons and a glue gun.

1. Cut a (4.5"x12") rectangle from your felt.
2. Fold it, leaving (2.5") for the flap and cut a decorative edge on your flap. 
3. Sew a blanket stitch up both sides.
4. Make a button hold on the flap, and sew on button.
5. Decorate the front/back as you like using your glue gun. You can use the mini buntings pattern
6. You're done!! Write a little note, and send it off and make someone's day!

Tips:
  • If you don't have a sewing machine, you can easily sew a blanket stitch by hand (if you're not sure what it is, make Youtube your friend!). You can make a button hole by hand by cutting a slit with scissors and sewing around it. 
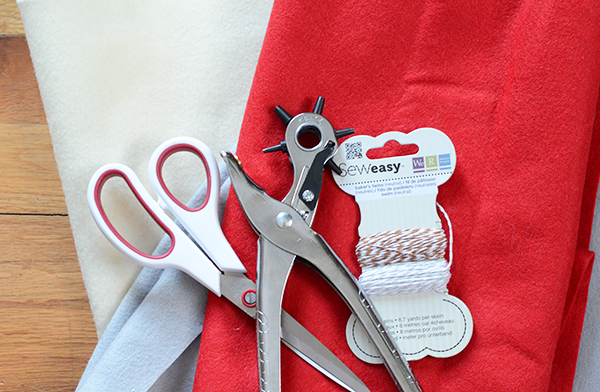
  • To get the scalloped edge, I used a We R Memory Keepers Magnetic Twist Trimmer. (I am not paid for that name drop, just wanted to share my trick). The other edging was traced and cut with scissors. 
 If you make one, I would love to see it!

Charlie

Thursday, January 30, 2014

Make Your Own Mini Valentine's Bunting

I love when things come in mini sizes, don't you? Mini bunting fits anywhere and is super easy to make. Go gather your supplies and let's make instant cheer!
Supplies: Felt in different colors, scissors, a leather punch, twine or yarn, pen/pencil, pattern and an embroidery needle.
1. Print my pattern from here. Trace and cut as many pieces as you want in your bunting. 
2. Punch two holes using the smallest setting.
3. Thread the twine/yarn on the embroidery needle and feed it through the holes.
4. Cut the twine, leaving enough slack to hang and you're done.
After writing this whole post I thought maybe I should have called it garland... Do you call it bunting or garland? If you make one, I would love to see it!

Charlie

Friday, February 8, 2013

Fabric Stamping


I thought I would try my hand at fabric stamping since everyone else is doing it!  I followed this tutorial and made another Valentine's pillow.
Some combination of my stamp, fabric and user error caused most of my hearts to only have an outline and still need to be filled in by hand. I could have left the unfinished look, but it would have driven me nuts... I'm glad my first try was on something small! If you're looking for more Valentine's ideas click here.

Have you tried this? What was your experience??

~Charlie

Thursday, February 9, 2012

Wooden Hearts

I loved the way painting the wooden stars for Christmas came out, so when I saw the wooden hearts at the craft store, I had to buy them to decorate for Valentines Day!  I painted them in the traditional colors... red, pink, and white, and then used them all around the house for different little things!

Magnets...
Cute accent on a wreath...
Decorating candle holders (I used glue dots so I can easily remove the hearts and decorate them for another holiday).

Also, don't forget about the Valentine's Day DIY's from last year!


~Charlie

Thursday, February 10, 2011

Heart Brooch DIY


As promised, here is the second felt heart DIY!!


What you need:
~Scrap felt to cut out hearts
~Brooch pinback 
~Scissors
~Buttons 
~Embroidery thread or thread
~Needle
~Glue 
(Ignore the elastic head band... that was for the previous DIY)

1. Cut two hearts out of felt, each one slightly smaller than the first.  My largest heart is about 3 inches at its widest point.

2. Arrange your hearts and buttons.  Sew on your buttons (or glue if you like), only to the front heart.  Then glue the hearts together.

3. Cut a 1 inch circle out of felt.  Line up the ends of the pin.

4. Make two small cuts and slip the ends through the front. 

5. Sew or glue the pin to the circle. 

6. Glue the circle to the back of the heart.

7. Once the glue is dry, you're all done and ready to wear! 

I am excited to wear this on Valentine's Day and give them to a few friends! 

~Charlie